Building your own gazebo seems like a challenging project and it is normal to have questions before getting started. The cost, required tools and level of experience often discourage homeowners from building a gazebo.
But you can actually build a gazebo within budget if you understand where to invest and how to start building one. You can not only save money by building your own gazebo but can also customize each detail. Choose the size that fits your backyard, location, a solid foundation and the roof style that matches your climate.
You also have the choice of a permanent roof for long term durability or a fabric canopy for a more affordable option. So a DIY gazebo is just what you want your gazebo to look like. You don’t have to compromise on style just because this is how kit was made but you can actually design it however you want.
We watched over 10 DIY gazebo videos from Youtube and read multiple forum threads to learn how people are building one. The questions they have and things they are concerned about. We also have contacted Sean Hennessy (SacramentoShamrock) as he built gazebos and shared the real cost of building a gazebo on your own.
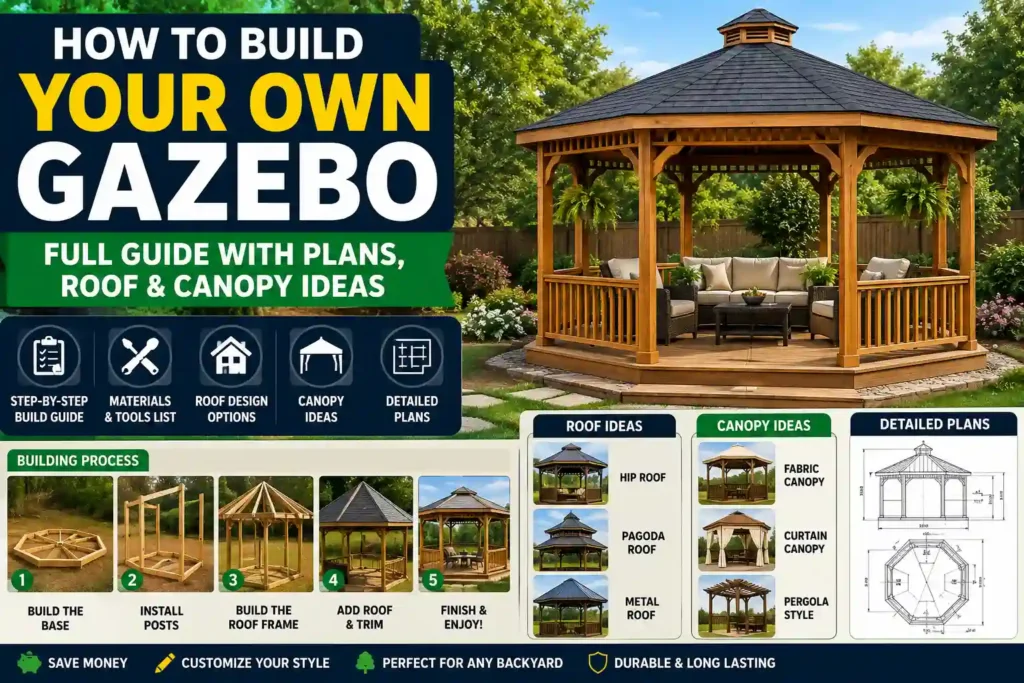
So this guide will help you through every step from planning and choosing materials to building the frame and installing the roof and canopy. You can easily build a durable gazebo that looks wonderful and stays within your budget by following each step.
Planning Your Gazebo Project in 2026
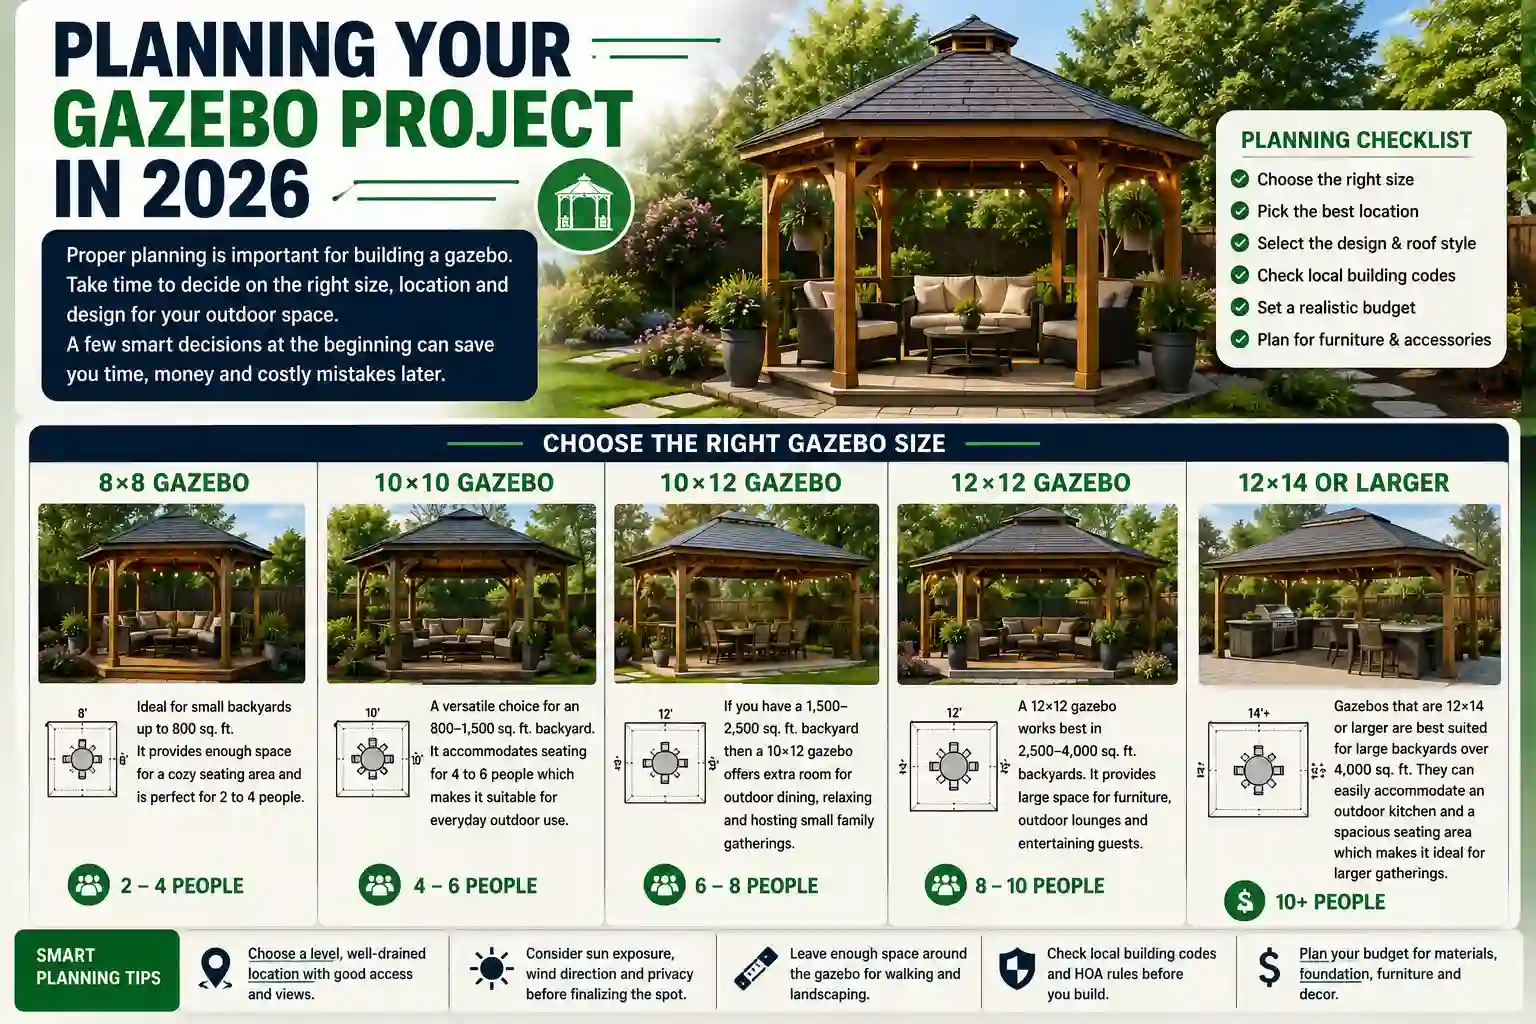
Proper planning is important for building a gazebo. Take time to decide on the right size, location and design for your outdoor space. A few smart decisions at the beginning can save you time, money and costly mistakes later.
Choose the Right Gazebo Size
The right gazebo size depends on how you plan to use it and the space available in your backyard.
- 8×8 Gazebo: It is ideal for small backyards which are up to 800 sq. ft. It provides enough space for a cozy seating area and is perfect for 2 to 4 people.
- 10×10 Gazebo: It is a versatile choice for an 800–1,500 sq. ft. backyard. It accommodates seating for 4 to 6 people which makes it suitable for everyday outdoor use.
- 10×12 Gazebo: If you have a 1,500–2,500 sq. ft. backyard then a 10×12 gazebo offers extra room for outdoor dining, relaxing and hosting small family gatherings..
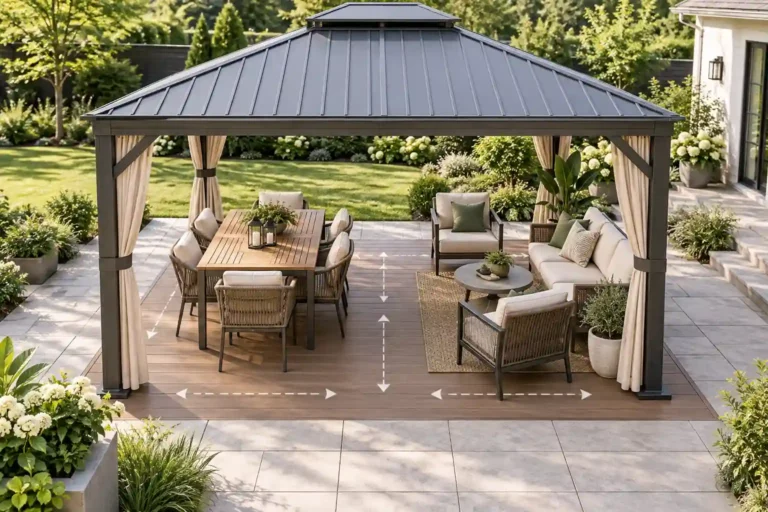
- 12×12 Gazebo: A 12×12 gazebo works best in 2,500–4,000 sq. ft. backyards. It provides large space for furniture, outdoor lounges and entertaining guests.
- 12×14 or Larger: Gazebos that are 12×14 or larger are best suited for large backyards over 4,000 sq. ft. They can easily accommodate an outdoor kitchen and a spacious seating area which makes it ideal for larger gatherings.
Determine the Best Location
The gazebo location will affect its comfort and durability. Select a level area with good drainage to keep water from pooling around the foundation as water can weaken the structure over time. Also consider the exposure to sunlight as it affects comfort and the type of roof or canopy you choose.
If your backyard is exposed to strong winds use nearby trees and fences or your home as a natural windbreaker. But avoid building directly under large trees because leaves and constant debris cause a problem. Plus, position the gazebo where it is easy to access from your house and where it offers a pleasant view which allows you to enjoy your outdoor space.
Choose the Right Foundation
A strong foundation is essential for keeping your gazebo level, stable and secure for years. The right choice depends on your yard’s slope, soil conditions, the weight of your gazebo and your budget. Here are some foundation ideas for pillar of gazebos:
- Concrete Footings: This is the best choice for most DIY gazebos because it provides excellent support and long term durability at a reasonable cost. It works well on level or slightly sloped yards and performs reliably in most soil types. It is also ideal for medium to heavy wooden gazebos.
- Concrete Slab: It is recommended for large and heavy gazebos that include an outdoor kitchen or fireplace. It performs best on well compacted ground and creates a solid and base. It is the most expensive option because it requires more concrete, labor and preparation.
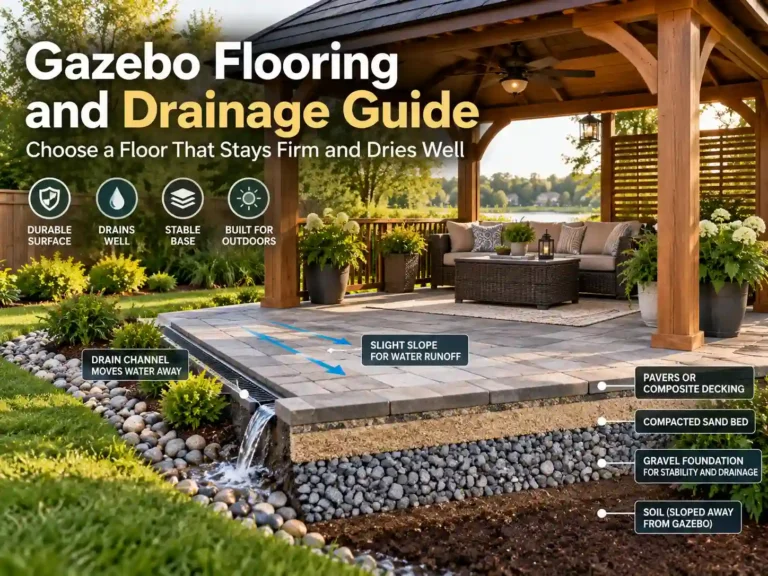
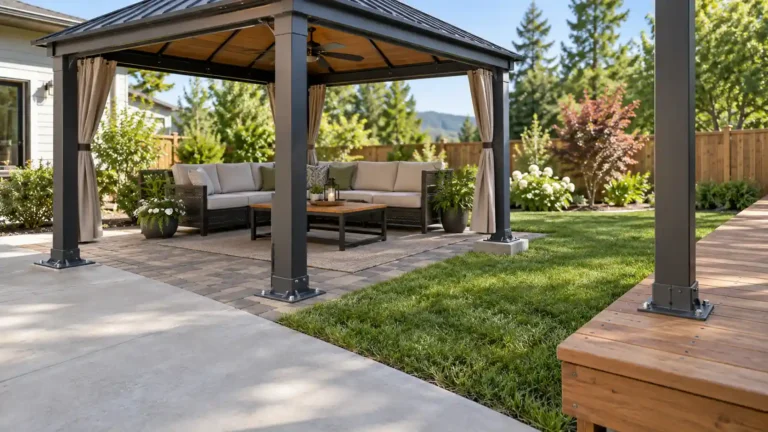
- Paver Foundation: A paver foundation is a good option for small to medium sized gazebos built on leveled and well drained soil. It provides an attractive finish and allows the rainwater to drain between the pavers. It is generally more affordable than a concrete slab.
- Wood Deck Foundation: If you already have a strong and structurally sound deck then you can build your gazebo directly on it without creating a separate ground foundation. This saves time and construction costs but the deck must be capable of supporting the combined weight of the gazebo, furniture and people.
- Gravel Pad: A gravel pad is the most budget friendly option and works best for small or temporary gazebos on flat ground. It is easy to install and provides excellent drainage but it does not offer the same level of stability as concrete foundations provide.
Build a Gazebo Based on Your Climate
Selecting the right roof, wood, foundation and canopy according to your weather conditions will improve its durability, reduce maintenance and help your gazebo last longer.
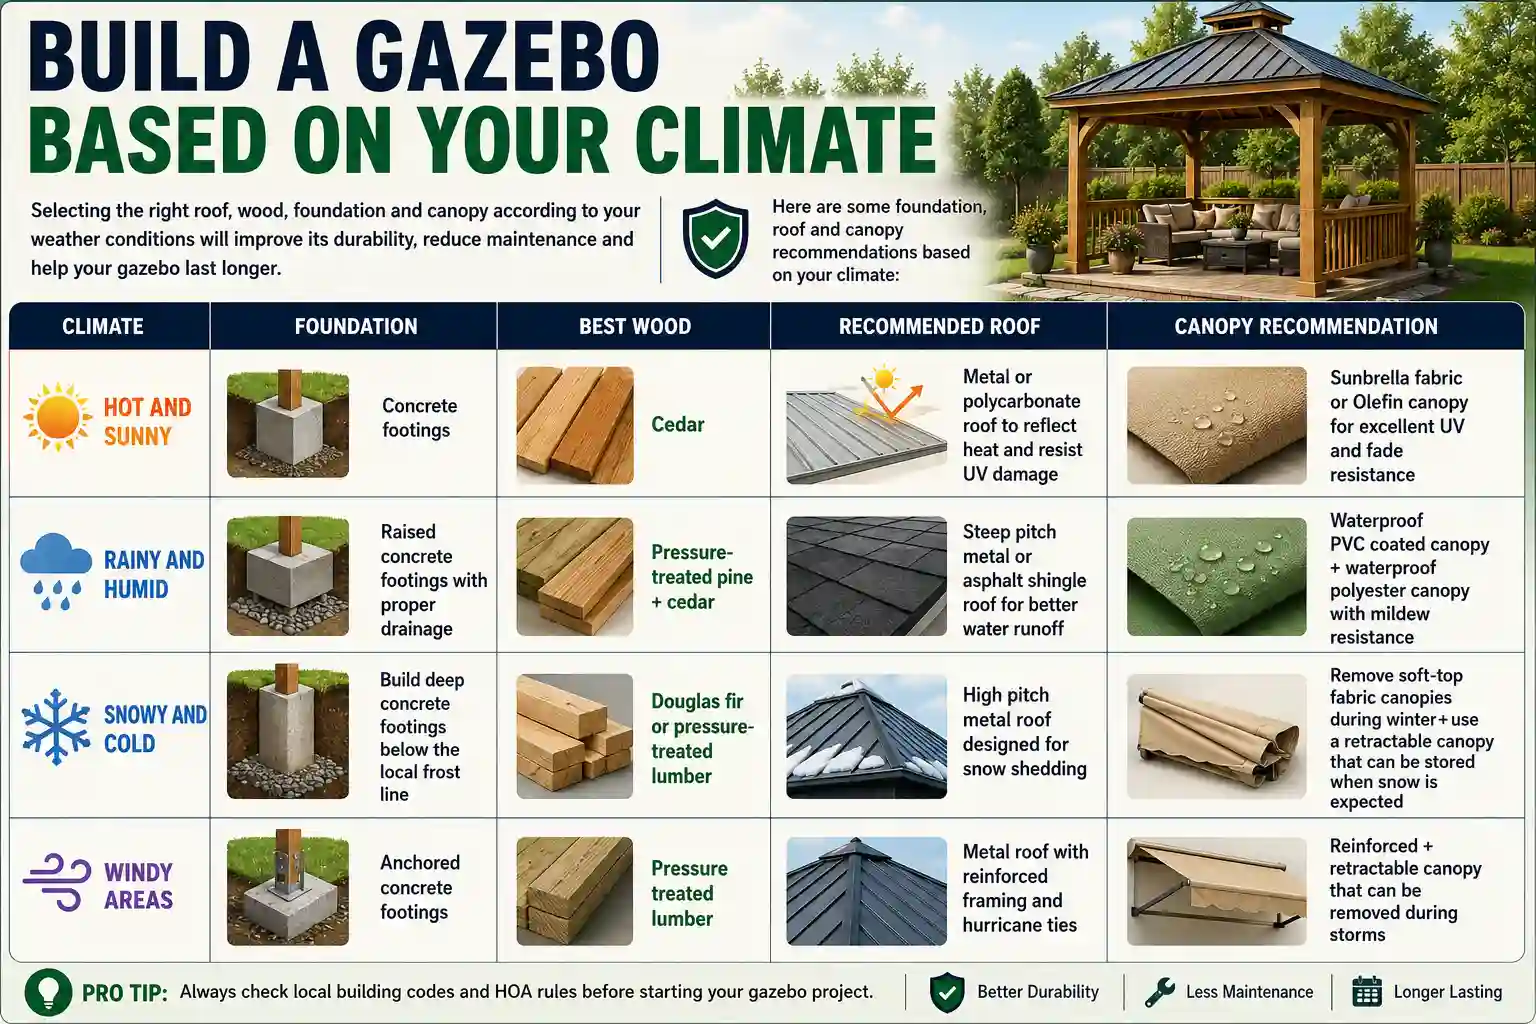
Here are some foundation, roof and canopy recommendations based on your climate:
| Climate | Foundation | Best Wood | Recommended Roof | Canopy Recommendation |
| Hot and Sunny | Concrete footings | Cedar | Metal or polycarbonate roof to reflect heat and resist UV damage | Sunbrella fabric or Olefin canopy for excellent UV and fade resistance |
| Rainy and Humid | Raised concrete footings with proper drainage | Pressure-treated pine + cedar | Steep pitch metal or asphalt shingle roof for better water runoff | Waterproof PVC coated canopy +waterproof polyester canopy with mildew resistance |
| Snowy and Cold | Build deep concrete footings below the local frost line | Douglas fir or pressure-treated lumber | High pitch metal roof designed for snow shedding | Remove soft-top fabric canopies during winter+use a retractable canopy that can be stored when snow is expected |
| Windy Areas | Anchored concrete footings | Pressure treated lumber | Metal roof with reinforced framing and hurricane ties | Reinforced + retractable canopy that can be removed during storms |
What Is the Best Wood for a DIY Gazebo?
Pressure treated pine is the best wood for DIY gazebo projects because it is affordable, strong and resistant to rot, insects and moisture. It is widely available, easy to work with and offers excellent value for homeowners who want to build a durable gazebo without exceeding their budget.
Check Local Building Codes and Permits
Check your local building codes to see if a permit is required before starting construction. Many areas require permits for permanent gazebos to make sure they meet safety standards and follow the zoning regulations.
You should also follow setback requirements which specify the minimum distance of your gazebo from property lines, fences or other structures. Contact your local utility locating service before digging to avoid damaging underground water, gas, electrical or communication lines.
Step-by-Step Guide to Build Your Gazebo
After planning everything on paper, it’s the time to start building your gazebo on site. Here is step by step guide to help you build gazebo at every step:
Prepare the Ground
Spend some time to create a stable base for your gazebo before you start building. Mark the outline of your gazebo using stakes and string so you know exactly where it will sit.Then remove all grass, weeds, rocks, roots and other debris from the marked area.
Finally, level the ground by filling low spots or removing excess soil until the surface is even. A clean and level site keeps the gazebo stable and reduces the risk of water pooling around the foundation. This whole process takes around 2-6 hours.
Build the Foundation
Mark the location of each post, dig the foundation holes and prepare the base depending on the type of foundation you have chosen. If you are using concrete then pour the mix into the holes and then install the post anchors. While the concrete is still wet and allows it to dry completely before continuing the further construction.
Take your time to build a strong foundation because it will improve the gazebo’s long term durability. Once the ground has been prepared then mark the location of each footing according to your gazebo plan. These will support the gazebo posts and this whole process of building foundation may take around 3 to 6 days.
Below is the table to help you understand depth of the hole and footing diameter according to your gazebo size:
| Gazebo Size | Typical Footing Diameter | Typical Depth of Hole |
| 8×8 | 10–12 in. | 24–36 in. |
| 10×10 | 12 in. | 30–36 in. |
| 10×12 | 12–14 in. | 30–36 in. |
| 12×12 | 12–16 in. | 36–48 in. |
| 12×14 | 14–16 in. | 36–48 in. |
Can I secure gazebo posts directly onto an existing concrete patio or do I have to pour dedicated footings?
You can anchor gazebo posts to an existing concrete patio only if the concrete is thick and designed to support the gazebo’s weight. Concrete footings are usually a safer and more durable choice.
Should I bury my 6×6 pressure treated wooden posts directly into the ground or use above ground shoe brackets?
Above ground metal post brackets attached to concrete footings are the recommended option for permanent gazebos. They keep the wood off the ground, reducing moisture exposure, rot and insect damage. Although pressure treated posts can be buried but using brackets generally provides better long term durability.
Install the Posts
After the foundation has fully cured then position each post on the post anchors. Use a level to make sure every post is perfectly vertical before tightening the bolts. Once the posts are securely fastened then temporarily brace them with wooden supports. It keeps them stable until the beams and headers are installed. Post installation may take around 2 to 4 hours.
Attach the Beams and Headers
After installing the posts now attach the beams and headers to connect the frame and support the roof. Make sure to secure each beam tightly using the bolts or structural screws and check that all connections are level and properly aligned. Secure connections help distribute the roof’s weight evenly and correct spacing prevents the beams from sagging.
Build the Roof Frame and Install the Roofing
Build the roof frame by installing the rafters around the center support and make sure they are securely aligned. Then choose a roof pitch that allows rain and snow to drain easily while matching your gazebo’s design.
Once the frame is complete then install your preferred roofing material such as asphalt shingles for classic look or metal panels for durability. However, proper installation will protect your gazebo from the weather and extend its lifespan.
Install Railings, Floorings and Trim
Now it’s time to add the finishing details that improve both safety and appearance. Start by installing the flooring to make sure each board is evenly spaced and securely fastened. Next attach the railings between the posts to provide support and give the gazebo a finished look.
You can also add built in seating along the inside of the railings. Finally, install the finishing trim around the edges, corners and joints to cover gaps and protect exposed edges. It gives the gazebo a neat and professional appearance. These final touches make the structure more comfortable and attractive.
Is it actually cheaper to build a gazebo from scratch or should I just buy a pre-fabricated kit?
Building a gazebo from scratch is usually more cost effective if you already have basic tools and are comfortable with DIY projects. A pre fabricated kit is often a better choice if you want faster assembly, simpler installation and predictable costs with less planning.
Gazebo Roof Ideas and Comparisons for DIY
Choosing the right roof is important as it affects the appearance, durability and gives protection from different weather conditions. So by comparing the roof covering options you can find the best which suits your budget, climate and the style of your gazebo.
| Roof Type | Best For | Pros | Cons |
| Asphalt Shingle Roof | Traditional homes and budget friendly projects | Affordable +easy to install+available in various colors | Shorter lifespan than metal roofing |
| Metal Roof | Long lasting durability and harsh weather | Durable+ weather resistant and low maintenance | Higher initial cost |
| Polycarbonate Roof | Modern designs and natural light | Lightweight+allows sunlight through+easy to install | Can scratch and become cloudy over time |
| Cedar Shake Roof | Rustic +natural looking gazebos | Attractive appearance and good insulation | Requires regular maintenance |
| Double Roof | Hot climates | Better airflow+reduces heat buildup+ stylish design | More difficult and costly to build |
Why does everyone say framing a gazebo roof is twice the work and cost of building the rest of the structure?
The roof is the most complex part of a gazebo. Unlike the posts and floor the roof framing requires precise angle cuts, careful measurements and strong structural support. Rafters must fit together perfectly especially on hexagonal or octagonal gazebos.
Because even a small mistake can throw off the entire roof. It also uses more lumber, hardware and roofing materials while taking significantly longer to build. That’s why many DIY builders say the roof accounts for nearly half the project’s time, effort and overall cost.
How Can You Choose the Right Roof Pitch?
Choosing the right roof pitch improves both its appearance and performance. A steeper roof allows rain and snow to slide off more easily and gives traditional appearance. Moreover, consider your local climate and the style you want before selecting. Here are different pitch ratio for roof:
- 3:12–4:12: It is best for dry or mild climates with little rainfall or snow.
- 5:12–6:12 : It is ideal for almost all areas as it provides good water drainage and a balanced appearance.
- 7:12 or steeper: It is recommended for regions with heavy rainfall or frequent snowfall to prevent water and snow from accumulating on the roof.
What is the minimum roof pitch required to prevent heavy snow or pooling water from collapsing my gazebo?
A minimum roof pitch of 4:12 is generally recommended for effective water drainage. While 6:12 or steeper is a better choice in areas with heavy snowfall. It allows rain and snow to slide off more easily and reduce potential roof damage.
How Can I Build My Own Gazebo Canopy?
Building your own gazebo canopy is the best way to customize outdoor space and save money. First measure the length, width, height and corner style of your gazebo frame. Then choose a durable outdoor fabric such as:
- Polyester for affordability
- Olefin for fade resistance
- Acrylic for long lasting performance
- PVC coated fabric for maximum waterproof protection.
After cutting the fabric make sure to strengthen the corners and attach grommets or Velcro straps to secure the canopy to the frame. Then stretch the fabric evenly to maintain proper tension and prevent sagging or water pooling. Apply protective coating of UV and water resistant to reduce fading and water damage over time.
How to Make Your Own Replacement Gazebo Canopy?
If your gazebo frame is still in good condition but the fabric is torn, faded or leaking. Then replacing the canopy is usually much cheaper than replacing the entire gazebo.
Start by measuring the length, width, height and corner style so the new canopy fits properly. Choose weather resistant fabric depending on your budget and local climate. Then cut and sew the fabric to match your measurements and reinforce the corners. Also add grommets, fabric pockets or Velcro straps to keep the canopy securely attached to the frame. Lastly tighten the fabric to prevent sagging or water pooling and apply a UV and waterproof treatment to extend its lifespan.
Gazebo Canopy Ideas for DIY
The right canopy can make your DIY gazebo more durable and enjoyable. Always choose a canopy that suits your local climate and budget. Here are some canopy ideas whether you need replacement or just building one:
- Soft Top Fabric Canopy:A soft top fabric canopy affordable, lightweight and easy to install or replace. It provides reliable shade and works well on both wooden and metal frames.
- Retractable Canopy: It lets you open and close the roof and gives you control over shade and sunlight. It costs more than fixed canopy but offers greater flexibility for changing weather conditions.
- Shade Sail Canopy: It uses tensioned fabric to create a clean and modern look and allows excellent airflow. It is easy to install, perfect for hot climates and also provides limited protection during heavy rain.
- Waterproof Canopy: It is made from water resistant materials. It keeps the seating area dry and performs best when installed with a slight roof slope.
- Double Tier Canopy: It has two fabric layers allowing greater ventilation and keeps the gazebo cooler during warm summer months.
- Heavy Duty Canopy: It is made from stronger outdoor fabric to withstand wind and rain. It is a good choice for rainy areas but it should still be removed before heavy snowfall.
How to Choose the Right Canopy Material?
A quality fabric should provide reliable sun protection, resist rain and fading and remain strong in windy conditions. If your backyard gets strong sunlight then choose fabric with UPF 40–50+ to block harmful UV rays and reduce fading.
For rainy climates select a canopy with a PU or PVC coating to keep water from soaking through the fabric. If you want the canopy to maintain its color then solution dyed fabrics are the best choice. For windy areas look for reinforced corners, go for double stitching and sturdy grommets. These features allow the canopy to stay attached and reduce the risk of tearing.
How Much Does It Cost to Build a DIY Gazebo?
The total cost of building depends on its size, materials, roof type and whether you complete all the work yourself or hire for certain tasks. We have contacted 12 gazebo builders across states in the US to inquire about their quotes and get an estimate of how much it will cost to build one.
Here is the estimated cost of building your own gazebo of different sizes according to their response in 2026:
| Gazebo Size | Materials and Hardware | Foundation & Roof | Estimated DIY Cost | Premium Gazebo Cost | Potential Savings |
| 8×8 | $425–$750 | $350–$850 | $800–$1,600 | $2,000–$3,500 | $900–$1,900 |
| 10×10 | $600–$1,000 | $500–$1,100 | $1,100–$2,200 | $2,500–$5,000 | $1,300–$2,800 |
| 10×12 | $770–$1,200 | $600–$1,350 | $1,400–$2,700 | $3,000–$6,000 | $1,600–$3,300 |
| 12×12 | $950–$1,500 | $750–$1,600 | $1,700–$3,300 | $4,000–$8,000 | $2,300–$4,700 |
| 12×14 | $1,180–$1,850 | $900–$1,900 | $2,100–$4,000 | $5,000–$10,000+ | $2,900–$6,000+ |
Can I Build Gazebo from Palm Trees ?
Yes, you can build a gazebo from palm trees but it is best suited for rustic style designs than heavy duty structures. It is less durable than pressure treated lumber and requires regular maintenance. Make sure to check your local building codes to ensure palm wood is approved for structural use in your area before building.
Can You Convert a Soft Top Gazebo into a Hardtop?
It is possible if the existing frame is strong enough to support the extra weight of a hardtop roof. Soft top gazebo frames are not designed for metal or polycarbonate panels so buying a hardtop gazebo is usually the safer and cost effective option.
Conclusion
Building your own gazebo may seem like a big project but careful planning and the right materials can make the process much easier. Every decision plays an important role from choosing the ideal size and foundation to selecting the best wood, roof and canopy.
We have shared everything you may need or have to invest in this guide. You can calculate your estimated cost of the project and then plan the gazebo around. Take your time with each step and follow your building plan carefully. A DIY gazebo will not only save money but also provide a comfortable outdoor space that you and your family can enjoy for years to come.
FAQs
How long does it take to build a DIY gazebo?
A DIY gazebo typically takes 2 to 7 days to build depending on its size, design and your experience. Simple kit gazebos can often be completed over a weekend while custom built gazebos with complex roofs may take a week or longer.
How long does a DIY gazebo last?
A well built and properly maintained DIY gazebo can last 15–30 years or more depending on the materials and climate.
How deep should gazebo footings be?
Gazebo footings are typically 24–48 inches deep depending on the gazebo size and local frost line.
What is the best foundation for a backyard gazebo?
Concrete footings are the most durable option for permanent gazebos on most backyard surfaces.